




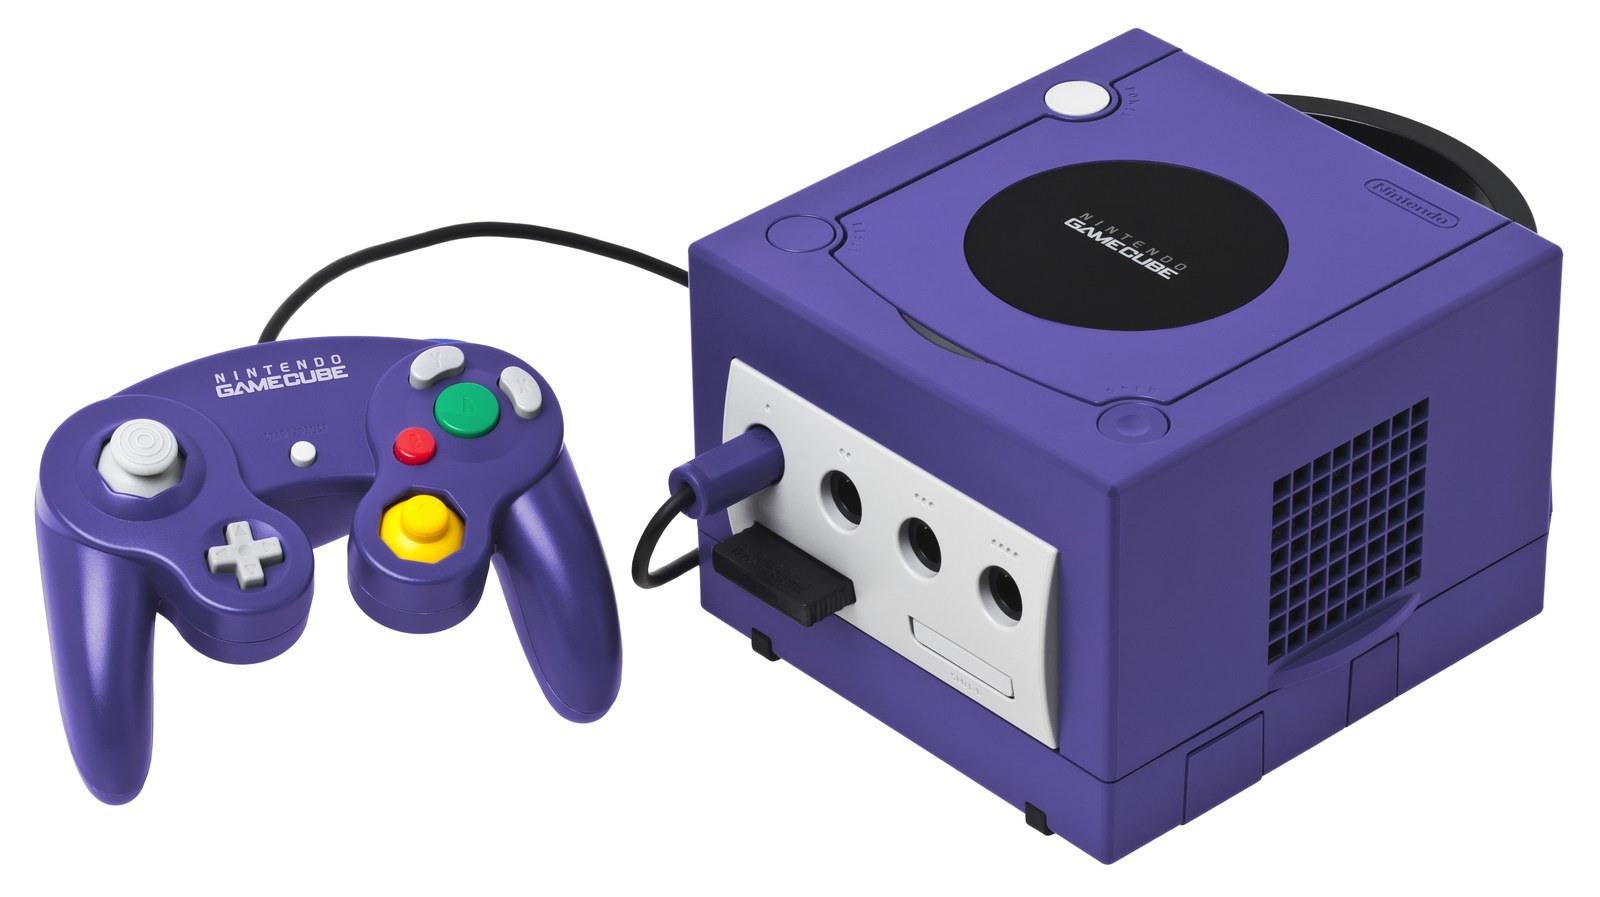
Running Homebrew On GameCube In 2026: The Complete Swiss Guide For Beginners
Swiss is to the GameCube what Luma3DS is to the 3DS: the all-in-one utility that unlocks everything else. It runs homebrew, loads games from an SD card, forces 480p output on games that refuse it, patches region locks and generally serves as a Swiss army knife for anything you might want to do with the machine. The problem is not Swiss itself but getting it to boot the first time: unlike the Wii or the 3DS, the GameCube has no universal software exploit, and the right method depends entirely on what you already own.
⚠️ Check what you already have before buying anything. This guide reflects the situation on 31 August 2026: the stable release of Swiss is v0.6r2092, published on 21 July 2026. Three families of methods coexist, and the choice comes down less to difficulty than to the hardware you have. Always check the official releases page in case a newer version has appeared since.
The three routes to Swiss
1. The game save exploit (no purchase, but one condition). Swiss ships as a bootable GCI file, a booby-trapped save you drop onto a GameCube memory card. Plenty of games serve as the entry point: The Legend of Zelda: Twilight Princess, Super Smash Bros. Melee, several FIFA and NBA Live titles. The catch is that you first have to write that file onto the memory card, and the GameCube on its own cannot do it. You need either a backwards-compatible Wii with its GameCube memory card ports, another already-modded GameCube, or a GameCube memory card reader plugged into a PC. If you have a Wii gathering dust, this is the free route.
2. The drive replacement, no soldering. FlippyDrive and GCLoader replace the original DVD drive with a module that reads game images from an SD card, and install without a single solder joint: open the console, unplug the old drive, plug in the new one. It is the priciest option but the most comfortable, and it simultaneously solves the ageing optical drive, the main point of failure on these consoles.
3. The IPL replacement, with soldering. PicoBoot, in version 0.5.0, turns a Raspberry Pi Pico costing a few euros into a boot chip: the console launches Swiss directly at power-on, with no disc or memory card. The build calls for five wires soldered to the motherboard, which stays within reach with an iron and some patience, but it is no longer a software job. KunaiGC plays in the same category.
Preparing the SD card, the step every method shares
1. Grab the Swiss archive from the official releases page and extract the swiss_rXXXX.7z file.
2. Go into the archive's DOL folder and copy swiss_rXXXX.dol to the root of your SD card.
3. Rename it autoexec.dol: that exact name is what most boot methods look for automatically.
4. Format the card as FAT32 if it is not already, with a 32 KB cluster size for better read performance.
5. Slot the card into your adapter. The SD2SP2, which sits in serial port 2 underneath the console, is the most recommended today: it is faster than the SD Gecko that occupies a memory card slot, and it leaves both memory card ports free.
6. Power the console using your chosen boot method: Swiss appears and reads the SD card's contents directly.
Important warnings
Methods 2 and 3 involve opening the console, which requires a Tri-wing screwdriver for the case screws. A botched PicoBoot attempt rarely destroys anything irreversible, but a pad torn off the motherboard does. Legally, Swiss is free software containing no Nintendo code, but the game images you feed it must come from your own discs: RetroVault endorses no other source. Lastly, beware of counterfeit GameCube memory cards sold online, notoriously unreliable for hosting an exploit.
For the detail of each boot method and the full list of exploitable games, the reference remains the GC-Forever wiki's Booting Homebrew page. The PicoBoot build is documented step by step, diagrams included, on the project's GitHub repository.
Source: GC-Forever Wiki