




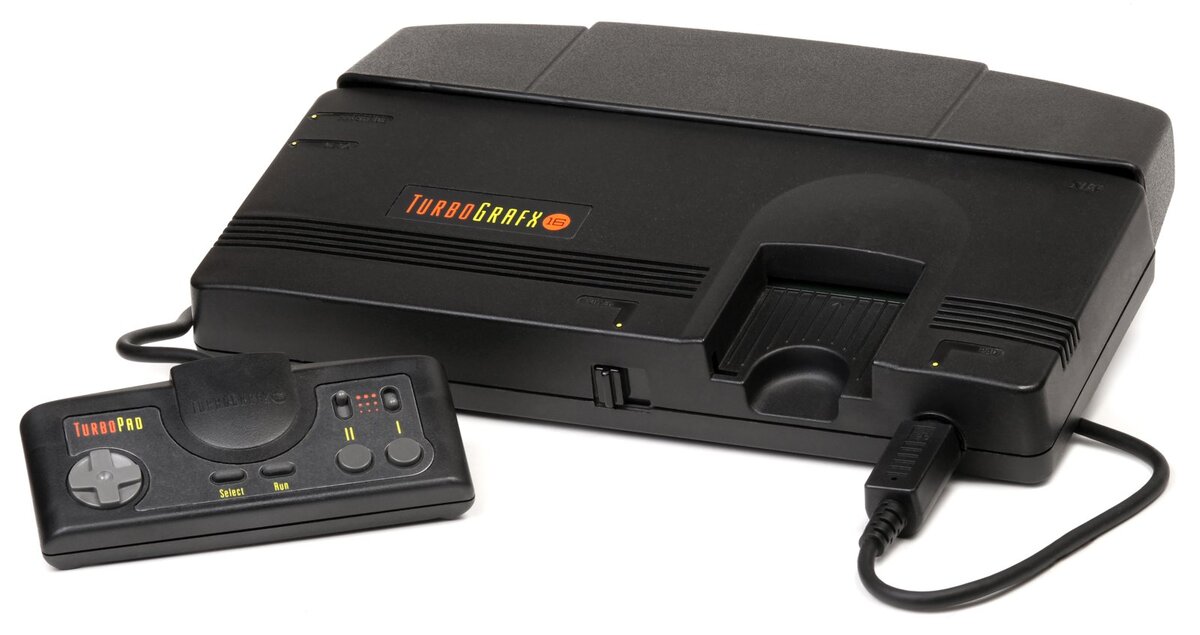
Installing Geargrafx in 2026: the simple beginner's guide for PC Engine and TurboGrafx-16
The PC Engine (TurboGrafx-16 outside Japan) now has a modern, remarkably accurate emulator: Geargrafx, developed by Nacho Sanchez. It covers the console's entire library, both HuCard and CD-ROM², and runs equally well as a standalone app or as a Libretro core inside RetroArch.
⚠️ Check the version before you start. This guide reflects the situation as of September 8, 2026: the current stable release is Geargrafx 1.7.22, published on September 5, 2026, which improves PSG audio accuracy, fixes vertical sync audio dropouts on high refresh rate displays and strengthens Arcade Card compatibility. Version 1.7.21, released on September 3, 2026, had added Ogg Vorbis audio track playback in CD-ROM² images, and 1.7.20 had improved vertical sync across refresh rates, cut input lag on 120, 144 and 240 Hz panels, refined the BIOS loader and the debugging tools, and kicked off work on an iOS app. Always check the official releases page to see if a newer version has come out since.
Prerequisites
You'll need: a PC running Windows, macOS (Apple Silicon or Intel) or Linux; your own HuCard ROMs (.pce, .sgx) or CD-ROM² images (.hes and associated files); and, only if you plan on playing CD-ROM² games, the System Card 3.0 BIOS file (MD5 hash 38179df8f4ac870017db21ebcbf53114) extracted from your own PC Engine CD or legally obtained. No BIOS is needed for HuCard games.
Installation steps
1. Download the latest Geargrafx release for your system from the official releases page.
2. (Windows) If the emulator won't launch, install the Visual C++ Redistributable and OpenGL Compatibility Pack listed in the documentation.
3. Extract the archive to a folder of your choice, such as C:\Emulators\Geargrafx.
4. If you plan on playing CD-ROM² games, place the System Card 3.0 BIOS file in the folder specified in the documentation.
5. Launch Geargrafx, then simply drag and drop your ROM into the window, or use File → Open.
6. Configure your controller from the Options menu if it isn't detected automatically.
Important warnings
No hardware risk at all: Geargrafx is pure software that never touches any console. For a portable setup on a USB stick, just create an empty file named portable.ini in the emulator's root folder. RetroVault only endorses using your own dumps of games and BIOS files you legally own.
For full documentation and up-to-date files, check the official Geargrafx GitHub repository.