




Building A Nintendo 64 Homebrew With LibDragon: The Complete Beginner's Guide
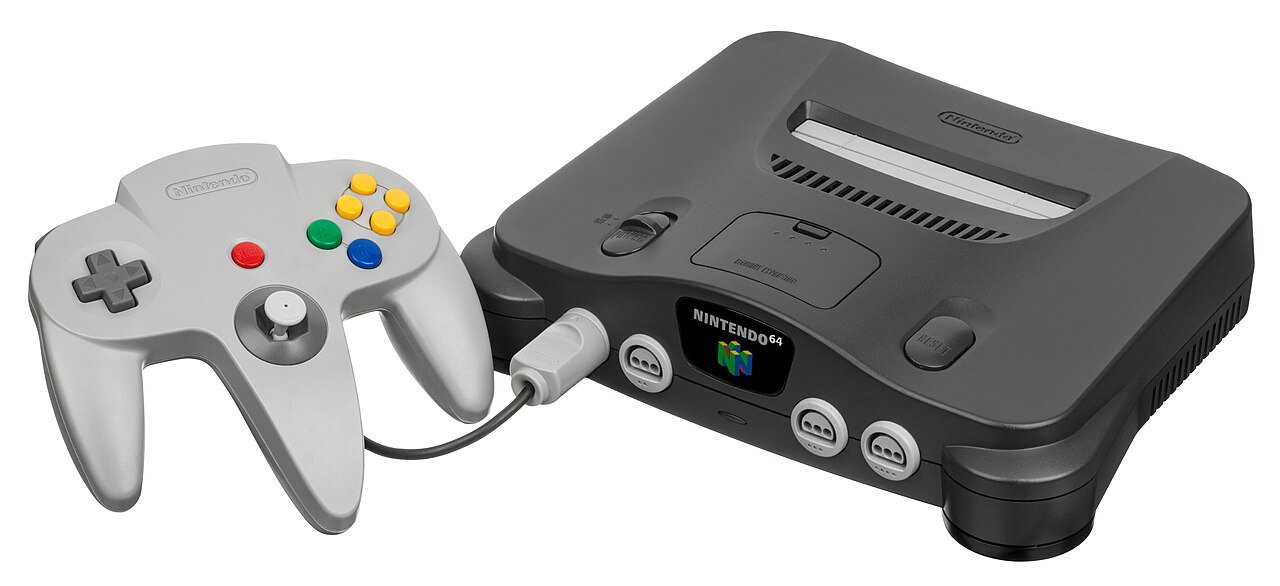
The Nintendo 64 long had a reputation as a machine hostile to amateur development. Its MIPS architecture, its RSP coprocessor and the jealously guarded documentation of the era discouraged plenty of would-be developers. LibDragon changed that: it is an open source library, permissively licensed and written in C, providing everything needed to talk to the console without going through Nintendo's official SDK. It now powers most of the modern N64 scene, from technical demos to full ports such as Frogbull's Comix Zone 64.
⚠️ This guide reflects the situation as of 1 September 2026. The tools mentioned move quickly: the libdragon-docker command line tool is at v12.2.1, the ares emulator at version 148 and Gopher64 at v1.1.36 as of 21 August 2026. Check the release pages before starting, since the version numbers will almost certainly have shifted. Note as well that Simple64, long recommended for testing homebrew, was archived in February 2025 and should no longer be used as a reference.
Prerequisites
You will need: a PC running Windows, Linux or macOS; Git installed; Docker version 27.2.0 or later if you go with the recommended method below; and some grounding in C, enough to know what a loop and a pointer are. No MIPS assembly knowledge is required to get started. Also plan for an accurate emulator to test with, and eventually a flashcart if you want to see your program run on the console itself.
Step 1: install the build environment
Two paths are open to you. The simplest, and the one the documentation recommends for beginners, goes through libdragon-docker, a utility that wraps the whole toolchain in a container: you do not need to understand Docker to use it, only to have it installed. On Windows, download and run the installer from the releases page, ignoring the system security warning. On macOS and Linux, grab the executable matching your system and put it in your PATH, in /usr/local/bin and ~/.local/bin respectively, the latter also requiring a chmod u+x ~/.local/bin/libdragon. If Node.js 24 or later is already on your machine, a simple npm install -g libdragon works just as well.
The second route installs the toolchain natively, without a container, using the prebuilt binaries published on the dedicated release page: a .deb package for Debian and Ubuntu, an .rpm for Fedora, a .zip archive for Windows. Here you must set the N64_INST environment variable to the install folder, then build the library with ./build.sh. On Windows this method additionally requires an MSYS2 UCRT64 terminal. A third option exists, building the toolchain from source via ./build-toolchain.sh, but it takes over an hour and roughly 7 GB of temporary space: save that one for later.
Step 2: create your first project
Move into an empty folder, ideally a freshly initialised Git repository, then run libdragon init. The command builds a skeleton project, vendors a copy of LibDragon alongside your code, and downloads the toolchain image. The first call takes a few minutes while it downloads. You end up with a ready-to-use tree containing a source file, a Makefile and the library.
One point of vocabulary deserves your attention: LibDragon has two branches. trunk is the stable branch, with a backwards compatibility commitment, and it is the one to pick when starting out. preview holds features still in development, with an API that can change without notice. Many tutorials found online mix the two, which explains a good share of the build errors beginners run into.
Step 3: compile and get your ROM
Compiling comes down to one command: libdragon make. If you went with the native install, a plain make is enough. The result is a .z64 file, the console's ROM format, directly runnable in an emulator as well as on real hardware.
The Makefile is worth a look, since it is short and everything happens in two lines. The include $(N64_INST)/include/n64.mk directive pulls in the official build rules, the ones that automatically turn your .c files into objects, then into an .elf file, then into a .z64 ROM. The N64_ROM_TITLE variable sets the title written into the cartridge header, and BUILD_DIR the folder where intermediate files land. To add a source file to your project, you simply add it to the OBJS list as an object to produce.
Step 4: understand the skeleton of a program
A LibDragon program starts with #include <libdragon.h>, alongside the usual C headers. In main(), two calls lay the foundations: display_init(), which takes the resolution, colour depth, buffer count and filters, in a form such as display_init(RESOLUTION_320x240, DEPTH_32_BPP, 2, GAMMA_NONE, FILTERS_RESAMPLE), and joypad_init() for controller handling.
Then comes the main loop, which always follows the same rhythm: you fetch a drawing surface with display_get(), you draw on it, you send it to the screen with display_show(), and you read inputs with joypad_poll() then joypad_get_buttons_pressed(). Initialisation, rendering, input, display: that pattern turns up in just about every project in the scene. The repository's examples folder is packed with short programs working through variations on this skeleton, and it is by far the best way to learn.
Step 5: test your ROM in an emulator
Not all N64 emulators are equal for development work. Many were designed to run the commercial catalogue and take liberties with the hardware, which gives misleading results: a homebrew can display perfectly in them and crash on the console. Two choices stand out today. ares, at version 148 since May 2026, emulates at a low level and uses Parallel-RDP through Vulkan, which assumes a PC with a compatible discrete graphics card. Gopher64, at v1.1.36 since 21 August 2026, is the modern alternative to Simple64, whose torch it picked up. Test on both by preference: a behavioural difference between them almost always points to a bug in your code.
Step 6: run your homebrew on a real Nintendo 64
Moving to real hardware requires a flashcart. The SummerCart64 is the reference choice for development: fully open source, it includes a USB debug link that sends a freshly compiled ROM straight to the console, with no SD card shuffling between attempts. Krikzz's EverDrive 64 X7 also offers a USB connection and remains a solid option if you already own one. In both cases, copying the .z64 file onto the cart's microSD card is enough for a quick try.
One thing to keep in mind: some errors only show up on the console, particularly anything touching memory management and processor caches. A program perfectly stable under ares can lock up on an original N64, and that is precisely why the USB debug link saves so much time once a project gets serious.
Going further
The API reference documents every available function, and the project wiki covers the system-by-system installation edge cases. The awesome-n64-development repository catalogues the scene's tools, tutorials and technical documentation, while N64 Squid offers a particularly digestible series of progressive tutorials. Finally, the n64brew Discord, whose invitation sits on the official repository, remains the place to ask when a crash refuses to budge.
Source: LibDragon on GitHub