




Building A MiSTer FPGA In 2026: The Complete Setup Guide For Beginners
An emulator imitates a console's behaviour in software. An FPGA does something else: it is a chip whose logic circuits reconfigure themselves, so it can literally become a Mega Drive's graphics processor or a Neo Geo's sound hardware, logic gate by logic gate. That is the principle behind MiSTer, an open project that turns a development board into a machine capable of replaying dozens of systems with latency nearly identical to period hardware. Where an emulator inevitably adds a few frames of delay, the MiSTer behaves like the console itself, which explains the devotion of the competitive scene and CRT enthusiasts.
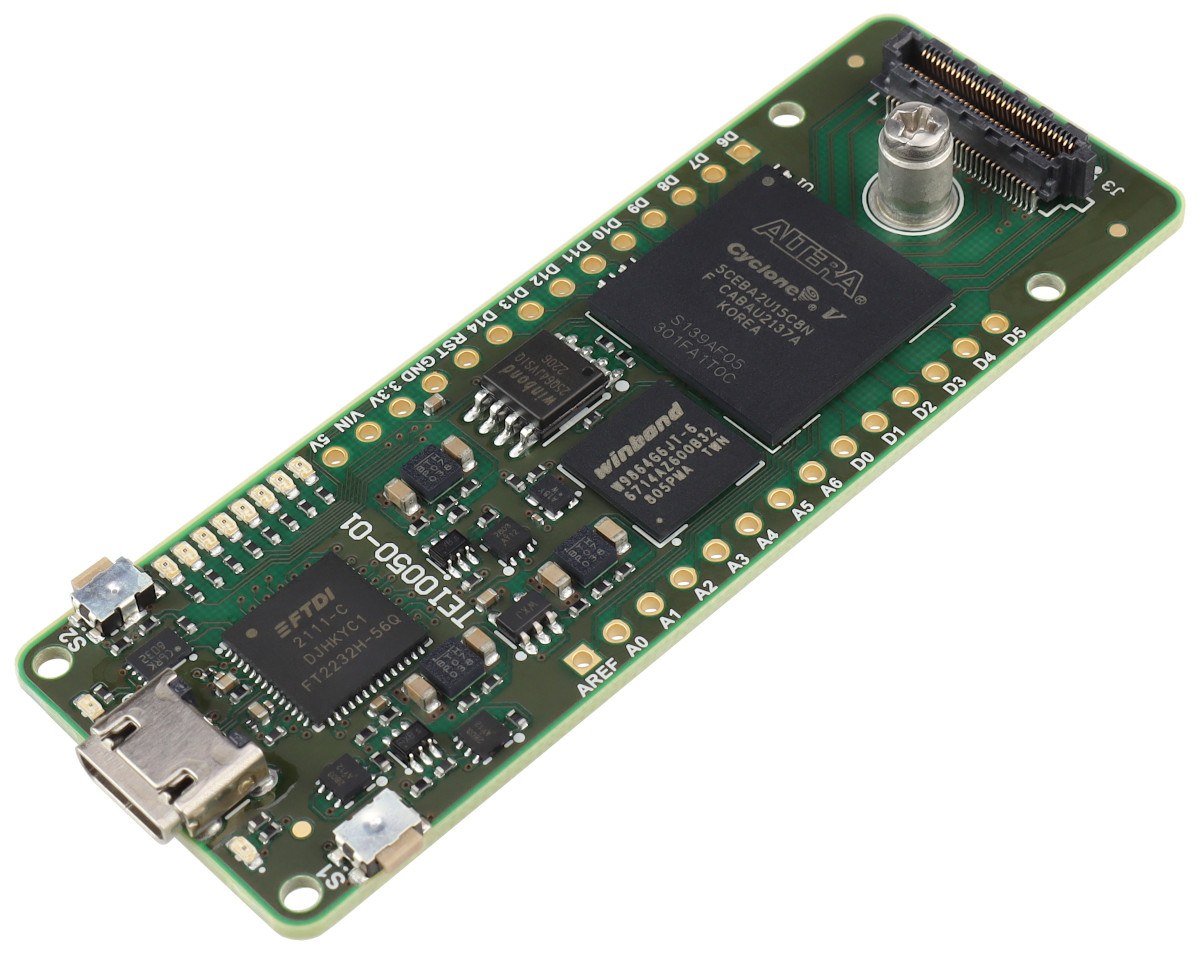
⚠️ Hardware is where the budget goes. This guide reflects the situation on 31 August 2026: the Mr. Fusion install image sits at v2.10, and the Update All script is refreshed continuously, its latest build dating from 26 August 2026. MiSTer is not software you install on a PC: it needs a Terasic DE10-Nano board, built around an Altera Cyclone V chip, which is the project's mandatory foundation.
Requirements
You need: a DE10-Nano board, the heart of the system; a microSD card of at least 16 GB, preferably 32 or 64 to hold cores and games; a USB hub, essential for connecting more than one peripheral and often sold as an expansion board that mounts onto the DE10-Nano; a decent power supply, since power problems are the leading cause of erratic behaviour; an HDMI cable; and an Ethernet cable or compatible Wi-Fi dongle, as the MiSTer downloads its own cores. Two add-ons come strongly recommended without being mandatory: the SDRAM memory board, needed for the hungriest systems such as Neo Geo and arcade boards, and the analog I/O board if you want to hook up a CRT.
Installation steps
1. On your computer, download the Mr. Fusion image from the project's official repository. It is a tiny Linux distribution whose only job is to install MiSTer cleanly.
2. Write that image to the microSD card using a flashing tool such as balenaEtcher, Win32 Disk Imager or Raspberry Pi Imager. Card size does not matter: Mr. Fusion will resize it on its own.
3. Insert the card into the DE10-Nano, connect HDMI and power, then switch on. Mr. Fusion repartitions the card, expands it to its real capacity, copies the necessary MiSTer files and reboots the board by itself. Do not cut the power during the process.
4. On reboot, the MiSTer menu appears. Plug in a USB keyboard: it is the simplest way to navigate before configuring a controller.
5. Connect the board to your network. Over Ethernet everything works straight away; over Wi-Fi, go through the Scripts menu to run the wireless configuration script.
6. Still in the Scripts menu, run update_all: this is the script that fetches every official core, the arcade cores, system files and updates. The first pass is long, several tens of minutes depending on your connection.
7. Once the cores are in place, copy your game files from your computer to the matching folders on the microSD card, one per system. Network access through a Samba share, which the scripts can enable, saves pulling the card out every time.
8. Configure your controller from the main menu: MiSTer asks you to map the buttons once per core on first launch, then remembers the configuration.
Important warnings
An underpowered supply causes random reboots and cores that refuse to load: it is the number one problem with cobbled-together setups, and a proper power brick fixes it. MiSTer supplies no games and no protected system files, which must come from your own media: RetroVault endorses no other source. Finally, be aware that the project moves fast, with new cores almost every month: re-running update_all now and then is all it takes to stay current.
For the full documentation, the list of available cores and detailed hardware guides, the reference remains the official setup guide on the MiSTer wiki, complemented by the project's online documentation.
Source: MiSTer Setup Guide