




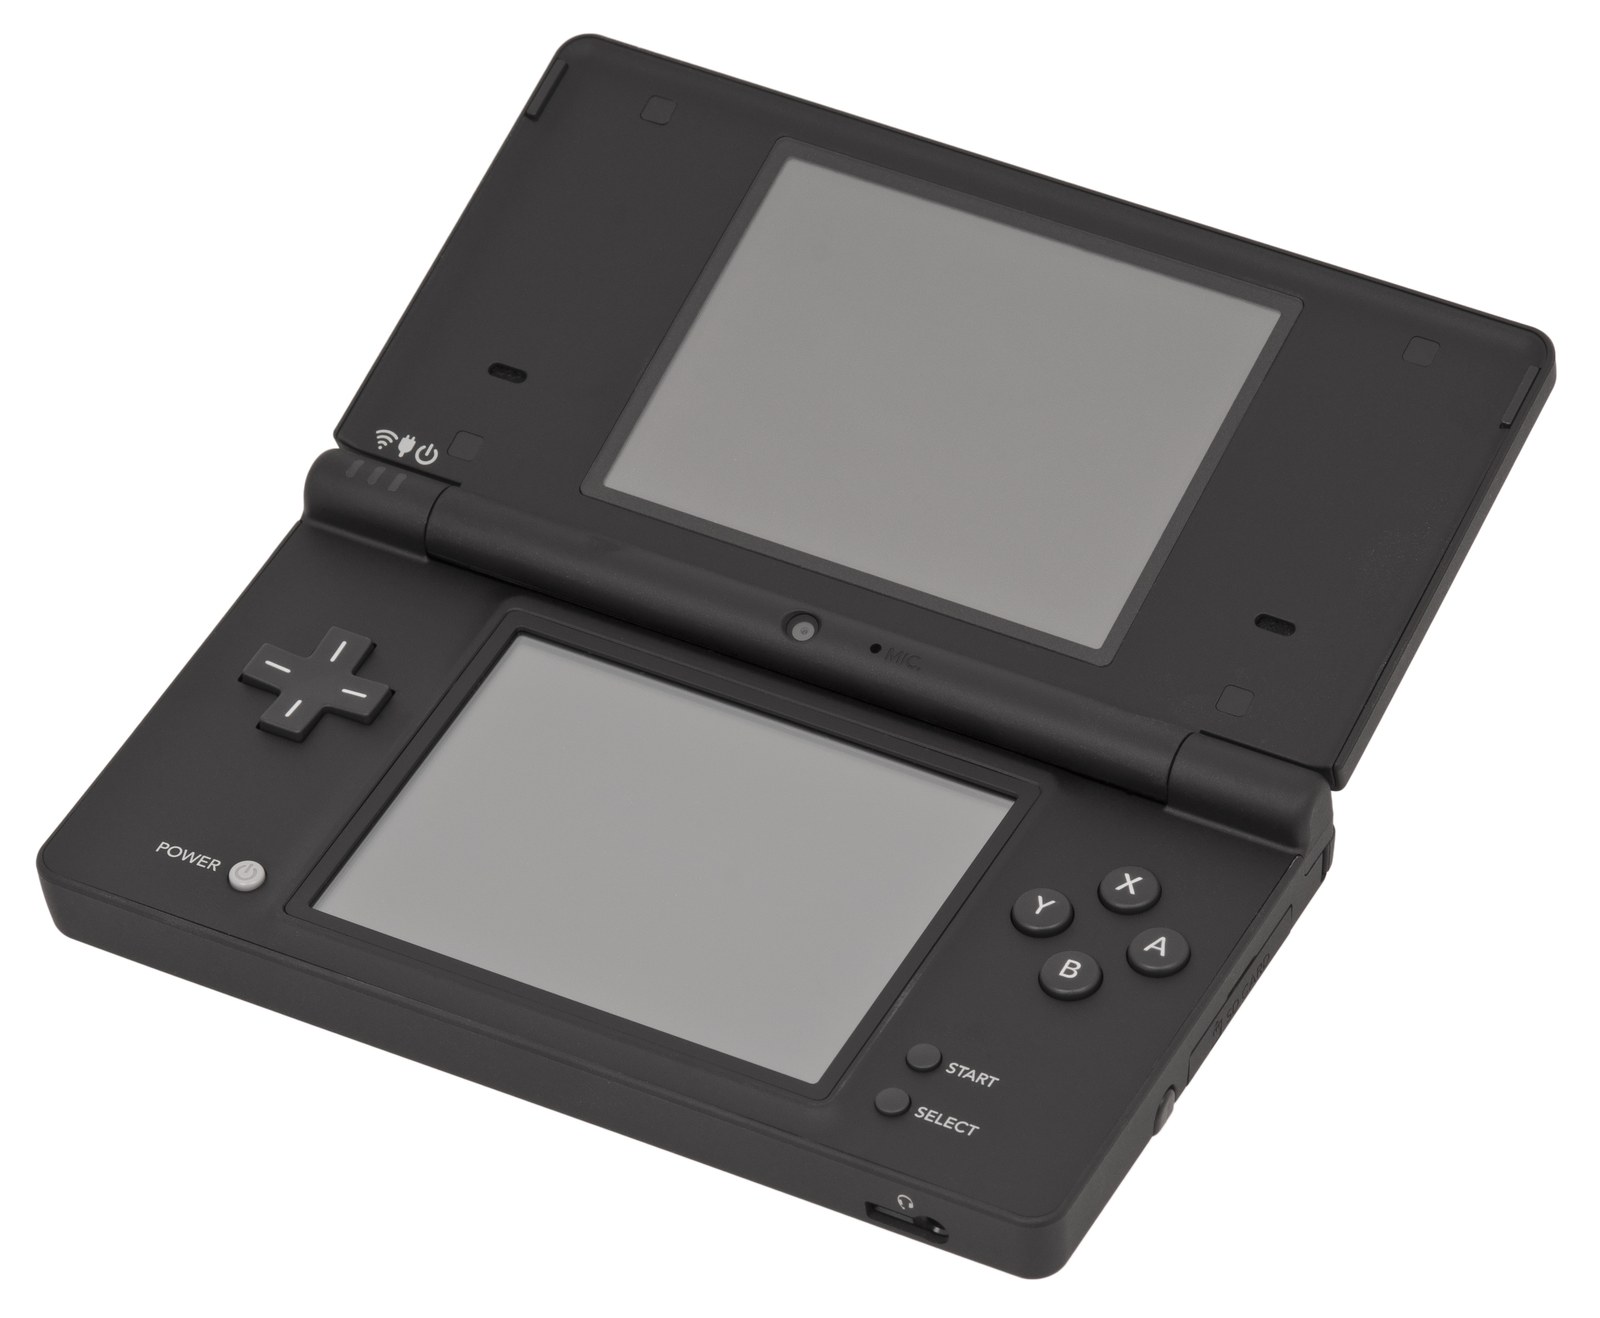
Modding Your Nintendo DSi In 2026: The Complete Unlaunch + Memory Pit Guide For Beginners
The Nintendo DSi has a rare quirk: its entry exploit, Memory Pit, goes through the built-in camera and works on absolutely every firmware version, no exceptions and no particular game required. It acts as a springboard to Unlaunch, a bootcode exploit installed into the console's internal memory that takes control the moment you power on. The result: full hardware access, unrestricted homebrew, DS games loaded from the SD card through TWiLight Menu++, and a console that stays modded permanently.
⚠️ The NAND backup is not optional. This guide reflects the situation on 31 August 2026: the current Safe Unlaunch installer is version 2.6, released on 29 August 2026, and TWiLight Menu++ sits at v27.24.1. Installing or uninstalling Unlaunch writes to the console's NAND, which carries a small but real risk of bricking. The NAND backup made during the procedure is your only way out if something goes wrong: do not skip it, and copy it somewhere other than the SD card.
Requirements
You need: a retail Nintendo DSi or DSi XL (development units are not supported); an SD or SDHC card formatted as FAT32; a computer running Windows, macOS or Linux, ChromeOS being unsupported; a battery charged above 50%, as the console must never shut down mid-process; and around thirty quiet minutes.
Installation steps
1. Check your firmware version in System Settings. If you are not on 1.4.5, run the system update before starting: unlike most consoles, the newest version is recommended here, since the exploit does not depend on firmware.
2. On your computer, head to the official DSi Guide and grab the Memory Pit file matching your camera version, which the guide identifies by region.
3. Copy that file into the private/ds/app/484E494A/ folder on your SD card, following that exact path, then put the card back in the console.
4. Launch the DSi Camera app: the exploit fires and loads the homebrew launcher. If the camera opens normally, the file is in the wrong place or does not match your version.
5. From the launcher, run the NAND backup and wait for it to finish completely. Then power off the console, copy the resulting backup file to your computer and store it safely.
6. Download the Safe Unlaunch installer from the official releases page and place unlaunch-installer.dsi at the root of your SD card.
7. Fire up the Memory Pit exploit again, open the Safe Unlaunch installer, read and accept the warnings, then pick your appearance options (background, sound, splash screen).
8. Select Install unlaunch, confirm and let the console work untouched, then reboot when prompted.
9. Boot while holding A + B to reach Unlaunch's configuration menu, set the startup behaviour and save.
10. Finally install TWiLight Menu++ by following the matching section of the official guide: it gives you a clean interface for launching DS games and homebrew. Do not forget to delete the temporary exploit files from the SD card at the end.
Important warnings
Once Memory Pit is installed you will no longer be able to view SD card photos from the original Camera app, unless you relaunch it through TWiLight Menu++ and nds-bootstrap. That is the method's only notable side effect. Never remove the SD card or the battery while the NAND is being written. If Memory Pit does not work on your console, the official guide's alternate exploits page lists other entry points. Lastly, Unlaunch can be installed and uninstalled cleanly, but each operation rewrites the NAND: do not go back and forth without reason.
Source: DSi Guide
Image credit: “Nintendo-DSi-Bl-Open” by Evan-Amos, licensed under CC BY-SA 3.0, via Wikimedia Commons (resized).