



Jailbreaking your Nintendo Switch in 2026: the complete beginner's Atmosphère guide (V1 model only)
Unlike many console exploits, the original Switch's doesn't depend on a specific firmware version: it's a hardware flaw baked into the Tegra chip's bootROM, known as RCM, that simply cannot be patched with a software update. It lets you inject a payload like Atmosphère, the most widely used CFW on the console, to unlock save states, themes, mods and homebrew games.
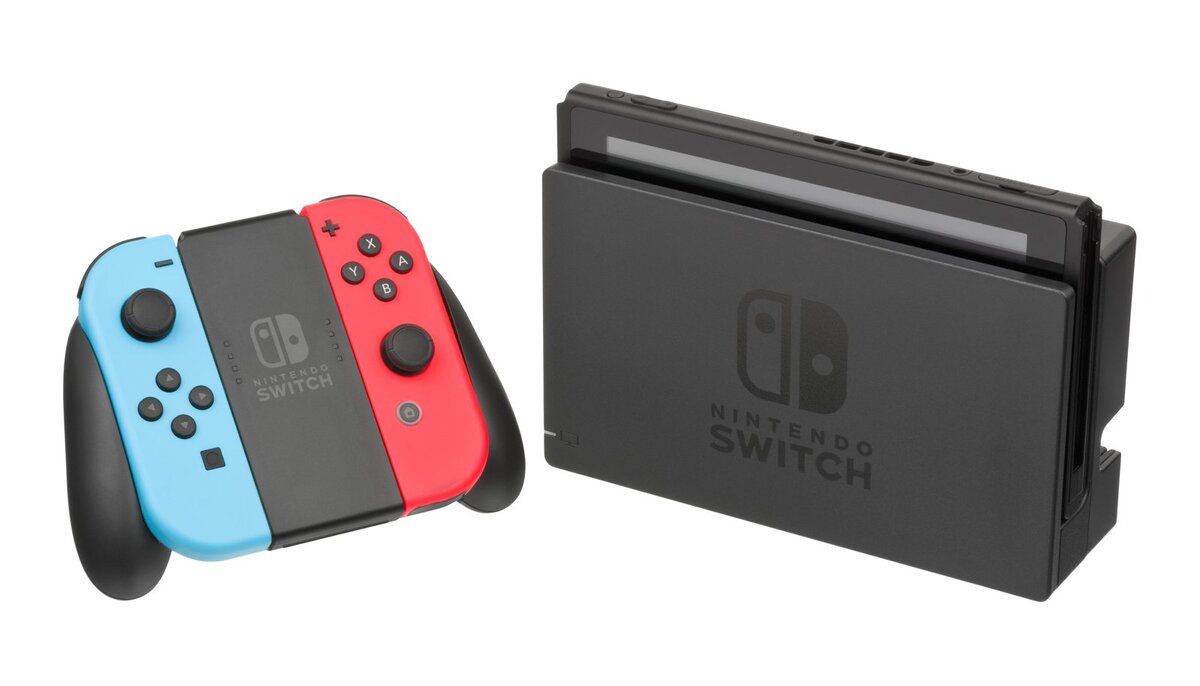
⚠️ Check your console's eligibility first. This guide reflects the situation as of August 12, 2026: only V1 Switch consoles manufactured before summer 2018 are vulnerable. The easiest way to check: flip your console over and look at the model number under the Switch logo. If it just reads HAC-001, your console is likely eligible. If it reads HAC-001(-01), that's a patched V2 "Mariko" revision, just like the Switch Lite (HDH-001) and Switch OLED: these models require a hardware modchip (Hwfly, PicoFly...) which is beyond the scope of this beginner guide. To confirm for certain, you can also enter your serial number prefix into a dedicated online checker.
Prerequisites
You'll need: an unpatched V1 Switch (HAC-001); a microSD card (32GB minimum, ideally 128GB or more if you plan on setting up an emuMMC); an RCM jig (a few dollars from online marketplaces, preferable to a paperclip to avoid any short circuit); a USB-C cable; a Windows, Mac or Linux computer (or a compatible Android phone); and a free title installed from the eShop beforehand, to improve homebrew app performance.
Installation steps
1. Prepare your microSD card: format it to FAT32 or exFAT, then copy over the Hekate (bootloader) and Atmosphère files downloaded from their respective official repositories.
2. Fully power off the console via Power Options → Turn Off (not just sleep mode).
3. Slide the RCM jig into the right Joy-Con rail, hold down the Volume Up button, press the power button once, then let go: the screen stays black, that's normal, the console is now in RCM mode.
4. Connect the console to your computer via USB-C and use a payload injector (TegraRcmGUI on Windows, fusee-launcher on Linux/Mac) to send the Hekate payload.
5. From the Hekate menu that appears, choose to create an emuMMC (a virtual NAND on the SD card, strongly recommended to keep your original sysNAND intact), then launch Atmosphère.
6. Once on the CFW home screen, install the Homebrew App Store to grab whichever homebrew apps you're after.
Important warnings
Brick risk stays very low if you follow the steps in order, but never unplug the cable or power off the console while the payload is injecting. Always keep your original sysNAND clean by doing anything homebrew-related on an emuMMC: going online with pirated games on the sysNAND risks a permanent Nintendo Account ban. CFW doesn't persist through a full reboot: you'll need to re-inject the payload every time you use it, unless you set up auto-RCM (which prevents the console from booting normally without a payload, best left to experienced users). RetroVault only endorses using backups of games you legally own.
For full documentation and up-to-date files, check the official NH Switch Guide and the official Atmosphère GitHub repository.