




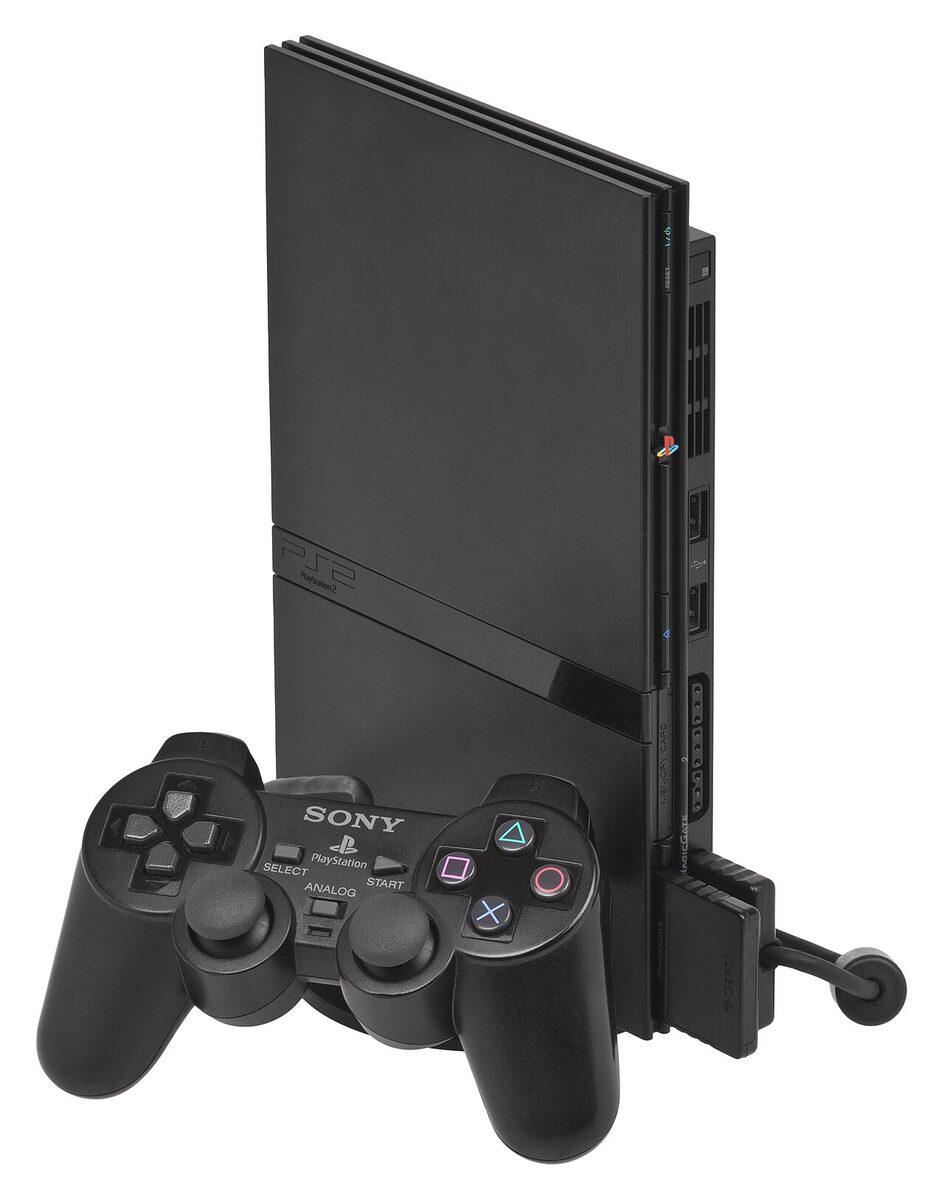
Softmodding your PS2 in 2026: the complete beginner's guide to FreeMcBoot + FreeDVDBoot
FreeMcBoot (FMCB) remains in 2026 the go-to way to unlock a PlayStation 2: it's an exploit that installs directly onto one of the console's memory cards, with no modchip and no opening the case. Once the card is inserted, it replaces the stock browser with a custom menu that gives access to homebrew tools like Open PS2 Loader, letting you launch games from a USB hard drive. For a long time, you needed an already-modded console or a cheat disc just to install FMCB for the first time; that's the starting point FreeDVDBoot now solves, using a simple DVD-R burned at home as the entry point.
⚠️ Check your model before starting. This guide reflects the situation as of August 20, 2026: the latest stable FreeMcBoot release is 1.966, and FreeDVDBoot covers nearly all PS2 Fat and Slim units. Compatibility depends specifically on your console's internal DVD player firmware version (visible in the System Configuration menu), not just its model - always check the official FreeDVDBoot compatibility database before burning anything, in case a newer method has come out since.
Requirements
You'll need: a PS2 Fat or Slim with its exact model number (SCPH-XXXXX, printed underneath the console); an official Sony 8MB PS2 memory card (cheap clone cards often lack proper MagicGate support and can corrupt data); a good quality blank DVD-R (Verbatim AZO or Maxell recommended, never DVD+R); a DVD burner and the free ImgBurn software; a USB stick formatted FAT32 with an MBR partition table; and a computer to prepare everything.
Installation steps
1. Note your PS2's exact model number and its DVD player firmware version (System Configuration → Console Information), then head to the official FreeDVDBoot site to download the ISO image matching your exact player version.
2. Burn that image to your DVD-R using ImgBurn at a low speed (1x to 4x maximum), in DAO/SAO mode with finalization enabled: too high a burn speed can make the disc unreadable by the console's aging drive.
3. On your FAT32 USB stick, place the FMCB folder containing the FMCBInstaller.elf file, downloaded from the official FreeMcBoot site.
4. Insert the burned DVD-R into your PS2 and power it on: instead of the usual browser, the console boots straight into the uLaunchELF homebrew utility.
5. Plug the USB stick into the PS2, navigate to "mass:/" in uLaunchELF, open the FMCB folder and launch the FMCBInstaller.elf file.
6. Insert your official PS2 memory card into slot 1, press X to choose "Install," then select that slot as the destination.
7. Once installation finishes, power off the console, remove the DVD-R and restart: the memory card now boots FreeMcBoot automatically every time, with no disc needed ever again.
Important warnings
Formatting a memory card from uLaunchELF can wipe existing save data: back it up first if your card holds anything you care about. FreeMcBoot doesn't modify or replace the console's BIOS: there's no risk of a permanent brick, and simply removing the memory card restores stock behavior. Only use a genuine Sony memory card for the install: cheap clones are by far the most common cause of failures and data corruption.
For an always up-to-date compatibility database matched to your exact DVD player version and official download links, check FreeDVDBoot and FreeMcBoot.