




All guides
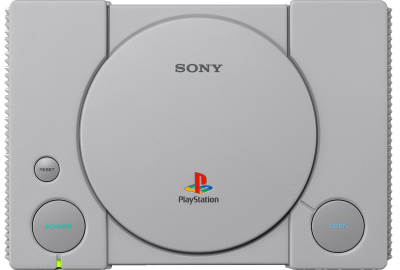
DuckStation
Émulateur PlayStation moderne et précis avec amélioration graphique
Download the emulatorIn this guide
DuckStation is by far the best PlayStation emulator available today: accurate, fast, and easy to configure. It needs the console's BIOS, extracted from your own PS1.
1. The BIOS
- A PS1 BIOS is 512 KiB in the vast majority of cases; DuckStation also accepts the rarer 2 or 4 MiB images. On the other hand, an unusual size — a few kilobytes, or several dozen megabytes — points to a corrupted file or one that isn't a BIOS at all.
- Depending on your console's region, it will be named
SCPH5501.bin(US),SCPH1001.bin,SCPH5502.bin(EU)… Case doesn't matter. - Place it directly in the
biosfolder, with no subfolder.
On Windows:Documents/DuckStation/bios. In the portable version: thebiosfolder next to the executable. - In the emulator: Settings → BIOS, select it from the drop-down list.
- If it doesn't show up, click Rescan BIOS / Refresh.
2. Game formats
.cue/.bin, .chd, .pbp, .m3u. CHD is the best choice: lossless compression, a single file per game.
Multi-disc game? Create an .m3u file listing the discs in order, one per line. DuckStation will handle disc swapping on its own.
3. Recommended settings
- Renderer: Vulkan or Direct3D 11.
- Internal resolution: 4x for a very clean image — the PS1 is lightweight, your machine can handle it.
- Texture filtering: disabled if you want to stay true to the original look.
- PGXP "Geometry Correction": fixes the wobbly polygons typical of the console. Worth trying.
4. Not working?
- "BIOS image not found" → wrong folder, or the file was placed in a subfolder.
- The game starts but the screen stays black → try a BIOS from the same region as the game; some titles are sensitive to this.