




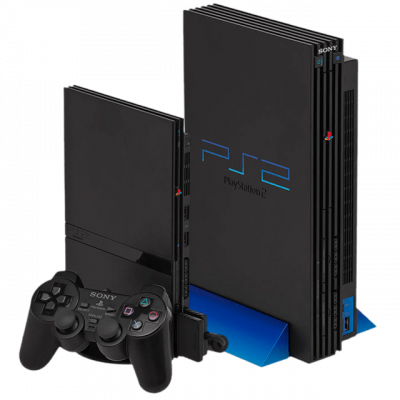
PCSX2 is the undisputed reference for PlayStation 2 emulation. One non-negotiable point: it needs the console's BIOS, and this file must be extracted from your own PS2.
1. Extract the BIOS from your PS2
This is the step that puts people off, but you only need to do it once. First you need a way to run homebrew software on the console:
- FreeMcBoot (via memory card) — compatible with most models, it's the simplest option.
- FreeDVDBoot (via DVD) — ideal for Slim models, and free.
- Modchip or disc swap — reserved for those who already know what they're doing.
- Download the biosdrain tool from its official GitHub repository.
- Format a USB stick as FAT32, with an MBR partition scheme, and copy
biosdrain.elfonto it. - Plug the stick into the PS2 and launch the file via uLaunchELF.
- Wait for the "Finished Everything" message.
- You'll get files prefixed with your console's identifier:
.rom0,.rom1,.nvm…
2. Install the BIOS in PCSX2
- Copy these files into PCSX2's
biosfolder. - In the emulator: Settings → BIOS, then select it from the list.
- If nothing shows up, click Refresh List.
3. Game formats
PCSX2 reads .iso, .bin/.cue, .chd, and .cso files. CHD is the preferred choice: lossless compression that noticeably reduces file size without affecting compatibility.
4. Recommended settings
- Renderer: Vulkan or Direct3D 12 depending on your graphics card.
- Internal resolution: 2x or 3x. Beyond that, some games display unsightly lines.
- Leave automatic patches enabled: PCSX2 applies game-specific settings.
5. Not working?
- "No BIOS found" → the file isn't in the right folder, or you copied the
.elfinstead of the.rom0. - Game is very slow → lower the internal resolution, and check that your CPU isn't the bottleneck (PS2 emulation is mostly CPU-bound).