



Dreamcast: creating and burning a bootable CD with BootDreams
Creating and burning a Dreamcast CD with BootDreams
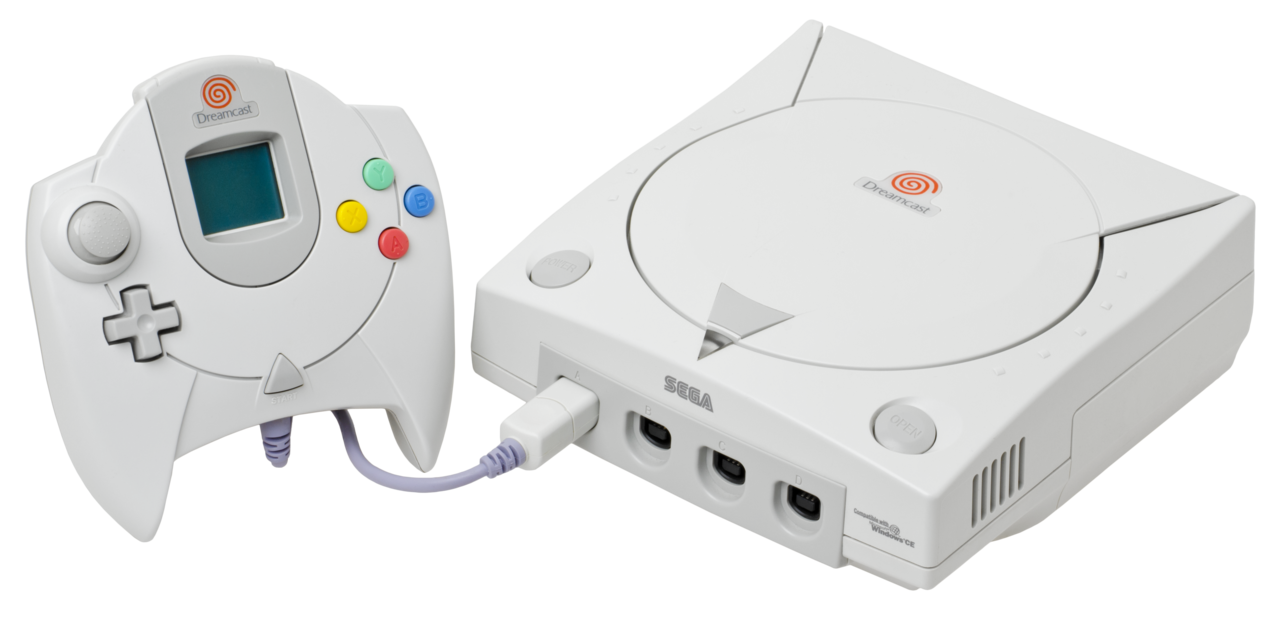
The Dreamcast has a feature that homebrew fans particularly appreciate: most consoles can boot certain programs directly from a CD-R, with no mod chip or hardware modification required.
This method makes it possible to run homebrews, emulators, demos, and various software written for the console.
In this guide, we'll cover two situations:
- Burning a Dreamcast image that's already available in CDI format.
- Creating your own bootable image from the files of a Dreamcast program.
The original tutorial published on DCEmulation dates back to 2006. Some information has therefore been updated to reflect newer versions of BootDreams and current knowledge about Dreamcast hardware.
What you'll need
Before you start, make sure you have:
- A Dreamcast compatible with MIL-CD discs.
- A CD burner.
- A 700 MB / 80-minute CD-R.
- BootDreams.
- A
.CDIimage or the files of the homebrew you want to use.
Prefer CD-R discs
For this kind of use, stick to standard CD-R discs. CD-RW discs generally don't work well for reading on Dreamcast.
700 MB CD-Rs are the most common choice for homebrews and self-booting Dreamcast images.
Are all Dreamcasts compatible?
No.
This is an important point that many old tutorials get wrong. VA0 and VA1 Dreamcasts, along with some early VA2 units, can generally boot discs using the MIL-CD system.
Some later Dreamcast units, however, use a BIOS in which Sega removed MIL-CD compatibility. On these consoles, a standard self-booting CD-R made with BootDreams may not boot.
Most common European Dreamcast units remain compatible with this method, though.
Method 1: burning an existing CDI image
The CDI format, historically used by DiscJuggler, has become one of the most common formats for self-booting Dreamcast images.
Step 1: install BootDreams
Install BootDreams on your computer.
The last official version of BootDreams is 1.0.6c. There are also patched builds adapted for more recent Windows systems.
Step 2: extract your download
If your file is inside a .ZIP, .RAR, or .7Z archive, extract it first.
You should end up with something like:
my-homebrew.cdi
Don't burn the ZIP, RAR, or 7Z archive directly.
Step 3: launch BootDreams
Open BootDreams, then use the tool for burning a CDI image.
Select your file:
my-homebrew.cdi
Then insert a blank CD-R into your burner.
Step 4: start burning
Select your burner and start writing the disc.
Contrary to what many old tutorials claim, you don't necessarily need to burn at an extremely low speed like 1x or 2x. Modern burners often don't even offer those speeds anymore.
Use a speed properly supported by both your burner and your CD-R.
Once burning is done, eject the disc and try it in your Dreamcast. If the image is correctly built and your console supports MIL-CD, the program should boot directly.
Method 2: creating your own CDI with BootDreams
BootDreams isn't just for burning existing images. It can also turn a folder containing the files of a Dreamcast program into a self-booting CDI image.
This is especially useful for homebrews and emulators distributed as individual files.
Step 1: create a folder
Create a folder, for example:
C:\Dreamcast\MyHomebrew\
Then extract all the program's files into it.
You might end up with a structure like this:
C:\Dreamcast\MyHomebrew\
│
├── 1ST_READ.BIN
├── DATA\
├── ROMS\
└── other program files
The exact structure depends on the homebrew or emulator you're using.
Step 2: check for 1ST_READ.BIN
In many Dreamcast programs, the main executable is named:
1ST_READ.BIN
This is generally the program the console launches after the disc boots.
Some software may use a different structure, though. Always check the README file or the program's documentation before deleting or renaming any files.
Step 3: select the folder in BootDreams
Launch BootDreams, then choose to create a DiscJuggler / CDI image.
Set the source folder to:
C:\Dreamcast\MyHomebrew\
BootDreams will then scan the folder's contents and prepare the files needed to boot on Dreamcast.
Step 4: the IP.BIN file
A bootable Dreamcast disc also uses a file called:
IP.BIN
This file notably contains the information the disc needs to boot.
In most cases you won't need to create it manually. BootDreams can generate an IP.BIN automatically while preparing your image.
If the program already has its own IP.BIN file, it's best to keep the one provided by its developer.
Step 5: create the CDI image
Choose the format:
DiscJuggler / CDI
Then start creating the image.
BootDreams will build the data needed to create the self-booting Dreamcast disc.
You'll end up with something like:
MyHomebrew.cdi
This file can then be kept, tested in a compatible emulator, or burned to a CD-R.
Adding files to a Dreamcast emulator
Some Dreamcast homebrews are emulators and require you to place games or extra files in a specific folder.
You might come across folders like:
ROMS\
GAMES\
DATA\
Don't create these folders at random.
Always follow the structure specified by the emulator's developer. Some programs look for their files under a very specific name and location.
The disc won't boot: what should you check?
1. Check your Dreamcast's compatibility
Some later Dreamcast units no longer support MIL-CD discs. In that case, standard self-booting CD-Rs won't boot.
2. Check the disc type
Use a CD-R rather than a CD-RW.
3. Check the CDI image
Just because a file has the .CDI extension doesn't automatically mean it's a working or self-booting Dreamcast image.
4. Check the file structure
If you built your own image, make sure all the files the program needs are actually present.
A homebrew that needs files in a DATA or ROMS folder may not work if those files are missing or misplaced.
5. Check the GD-ROM drive
Dreamcast drives are now more than twenty-five years old. An aging optical drive can struggle more with certain CD-Rs than with original GD-ROMs.
If a disc refuses to boot, try a different brand of CD-R before concluding that the image itself is faulty.
Is BootDreams still useful today?
Yes.
BootDreams is old software, but it's still handy for easily creating self-booting Dreamcast images without having to juggle several command-line tools by hand.
More modern tools exist today for creating Dreamcast discs, but BootDreams remains especially accessible when all you have is a folder containing a 1ST_READ.BIN and a homebrew's files.
Key takeaways
If you already have a CDI image:
CDI → BootDreams → CD-R → Dreamcast
If you have a homebrew's files:
Folder + 1ST_READ.BIN → BootDreams → CDI → CD-R → Dreamcast
In most cases, no hardware modification of the Dreamcast is needed, as long as the console supports the MIL-CD system.
Important note
This guide mainly concerns homebrews, free software, demos, and content you are legally allowed to use. Rights over commercial games and their copies remain those of their respective rights holders.
Source
Original tutorial by Christuserloeser published on DCEmulation in June 2006, rewritten and updated for RetroVault.