




Installing EmuDeck On Steam Deck In 2026: The Complete Beginner's Guide
The Steam Deck is a PC running Linux, which makes it a formidable emulation machine. The trouble is that configuring twenty emulators by hand under SteamOS is a slog: file paths, BIOS files, controllers, every tool has its own habits. EmuDeck settles the matter in one pass: the script installs the emulators, builds the folder structure, configures controls so they behave consistently across systems, and wires everything into Steam's Game Mode.
⚠️ Start in Game Mode, not with the download. This guide reflects the situation on 31 August 2026. The official install sequence follows a specific order worth respecting: update SteamOS and check free space first, switch to Desktop Mode second, and only then download the installer. The installer always fetches the current EmuDeck build at the moment you run it, and the project remains very active: there is no point hunting for a precise version number, the tool updates itself.
Requirements
You need: a Steam Deck (LCD or OLED); a stable Wi-Fi connection, as the installer downloads several gigabytes of emulators; free space, to be checked under Settings then Storage; ideally a microSD card if you plan to keep your collection there; and a good half hour, twenty to thirty minutes of which is pure waiting during downloads. A USB keyboard and mouse make Desktop Mode considerably more comfortable, though they are not essential.
Installation steps
1. In Game Mode, open Settings then System and install any pending SteamOS update: that is the official starting point of the 2026 procedure, and skipping it is a classic source of failure.
2. Still in Settings, go to Storage and check the available space. If you are using a microSD card, format it from that same menu so SteamOS prepares it properly.
3. Press the STEAM button, scroll down to the Power entry and choose Switch to Desktop Mode.
4. Open the web browser and head to emudeck.com to download the SteamOS installer: it is a small .desktop file, not a full program.
5. Move that file out of the Downloads folder and onto the Desktop. This detail matters: the installer frequently fails when run from inside Downloads, and moving it is the number one fix for first-run problems.
6. Double-click the icon and pick your mode. Easy Mode decides everything for you and installs the best emulators with sensible settings. Custom Mode lets you choose the storage location and which emulators go in: that is the one to pick if you want your collection on the microSD card rather than internal storage.
7. Let the installation run. Expect twenty to thirty minutes, most of it spent downloading emulators and their cores.
8. When it finishes, EmuDeck has created an Emulation folder with a roms subfolder sorted by system and a bios folder. Copy your files into the matching directories, keeping the folder names already in place.
9. Launch Steam ROM Manager from the EmuDeck app: it scans your collection, downloads artwork and creates one entry per game in your Steam library. Return to Game Mode: your retro games appear like any other Steam title, controller already configured.
Important warnings
EmuDeck supplies neither games nor BIOS files: those must come from your own media, and RetroVault endorses no other source. Some systems simply will not run without the matching BIOS, PlayStation chief among them. Take care to format your microSD card from SteamOS rather than Windows: an exFAT format done on a PC causes classic permission problems under SteamOS. Finally, a major SteamOS update can occasionally break paths: re-running EmuDeck in update mode repairs the install without starting over.
Source: EmuDeck
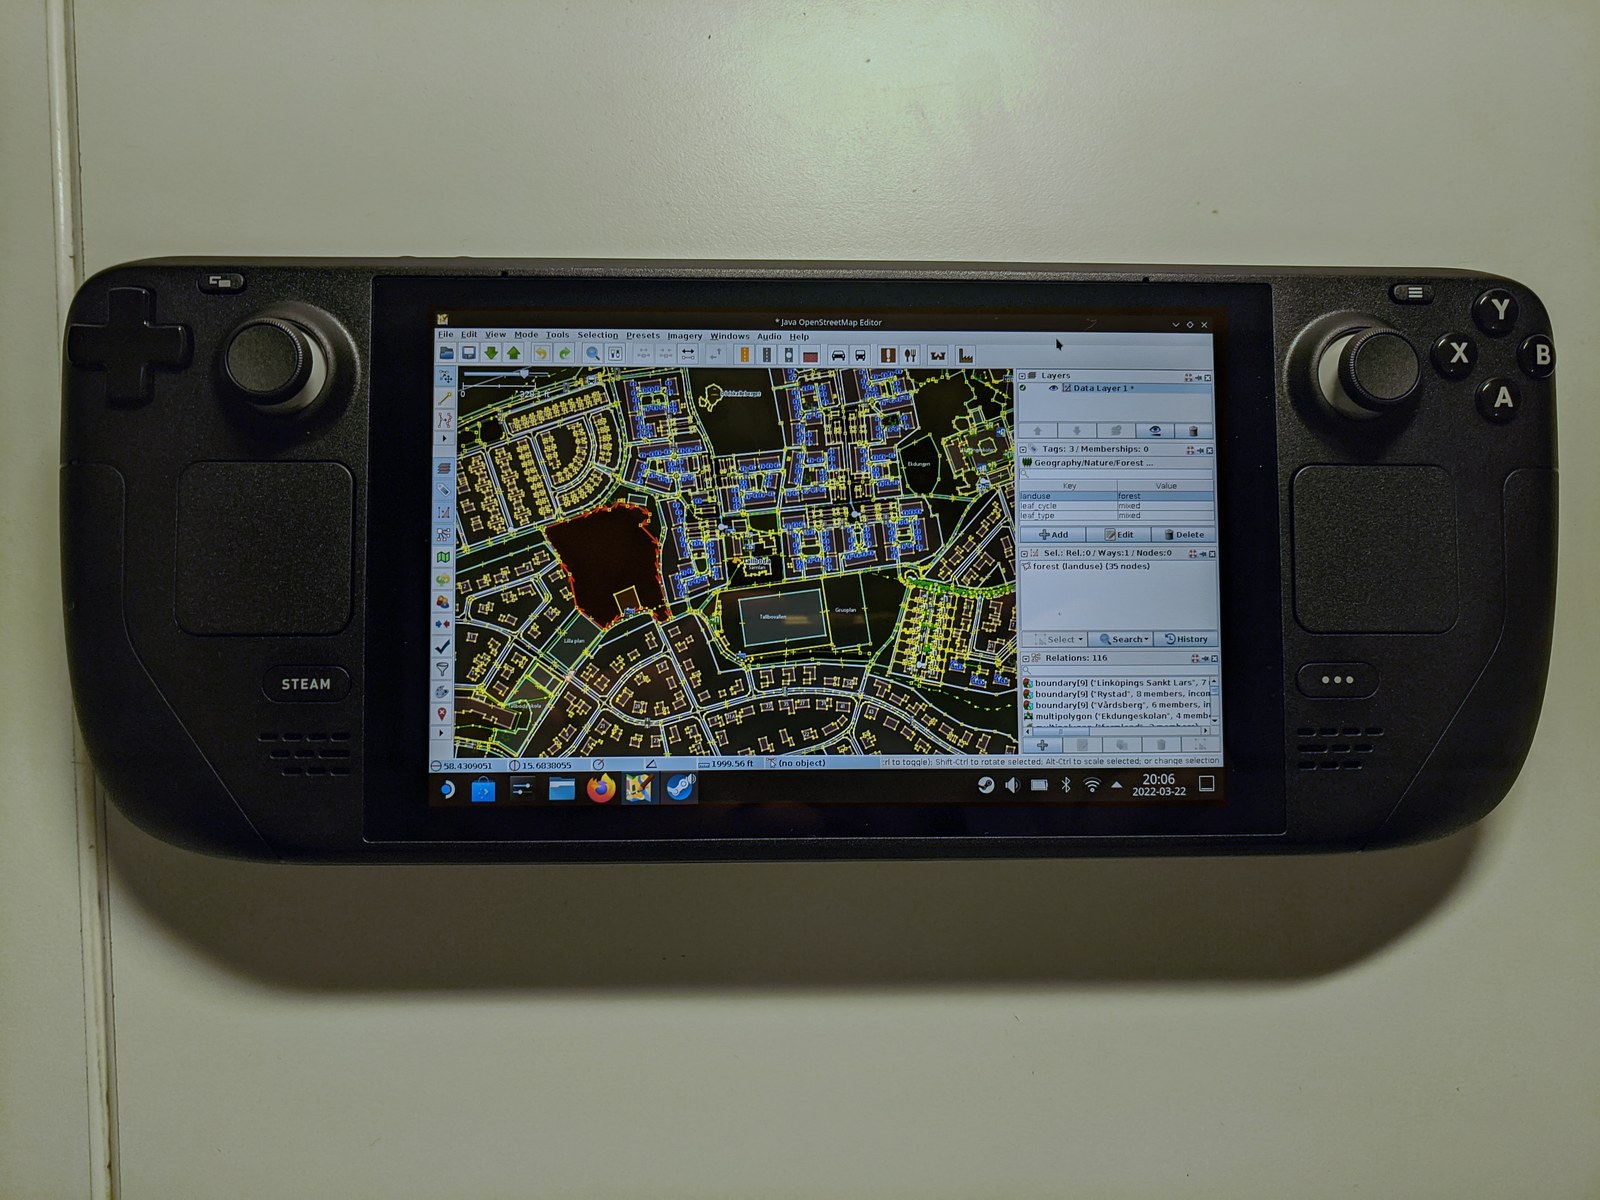
Image credit: “JOSM on the Steam Deck” by Riiga (OpenStreetMap Wiki), licensed under CC BY-SA 4.0, via Wikimedia Commons (resized).